


Sewage contains many pathogens and bacteria that can be harmful if ingested or left on exposed skin for prolonged periods. Every care should be taken to minimize contact with the effluent at all times. Any exposed area should be spotless including hands, clothing, shoes, feet, tools, doors and latches and so on. Nothing is worse than not cleaning up and contaminating your steering wheel too.
Remember, everyone reacts to such contamination differently. You may feel fine but your partner or your child may not. Sickness can ruin a great RVing experience.
Have the right tools ready and available.
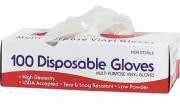
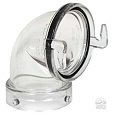
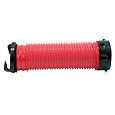
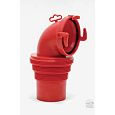

Always try to store hoses and connectors in an enclosed, segregated place to avoid contact with any other items and avoid cross contamination. It is advisable to soak all these tools in a solution of bleach (1/4 cup per gallon of water) for 4 hours minimum at the beginning of each season to sanitize them. This is also good time to do a visual and leak test on the hose and replace it, if needed. Typical hose life is between 2-4 years as it can get brittle and scratched.
Avoid dumping tanks that are not at least 2/3's full. If you have to dump, add water to the tanks till they become at least 2/3 full. This will help promote all the solids and particles to become suspended in the water and flow out of the tank. If you are going to travel before dumping, you can add some dish washing detergent (1/4 cup to a tank) and let it slosh around. Caution: Too much soap may cause excessive foaming!
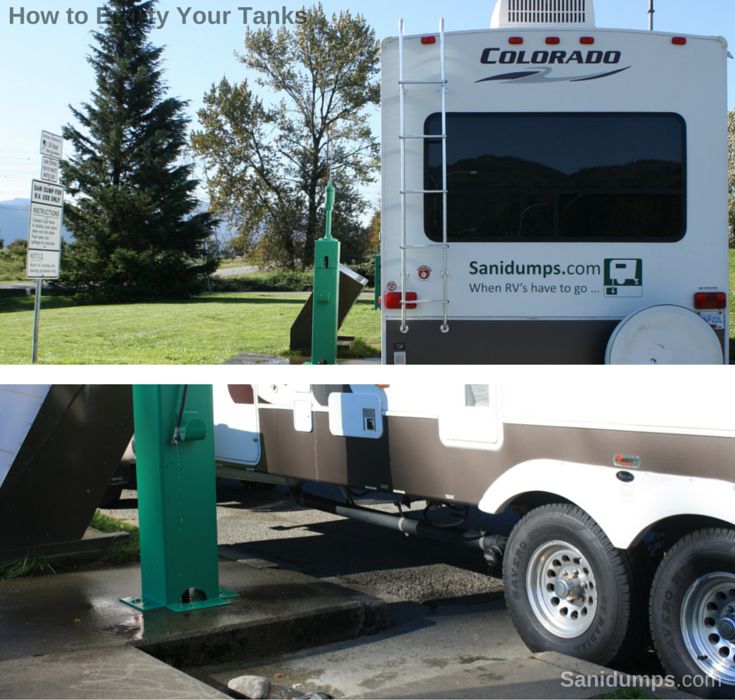
Start by pulling up to the RV dump station and lining up the black holding tank drain valve as close to the opening of the dump station as possible. This will ensure that if there is an accident, it will be contained in the dumping area. If the RV has more than one location for your drain valves, always do the black tank first. Unlock any compartments on the RV that are needed to access for dumping the tanks.
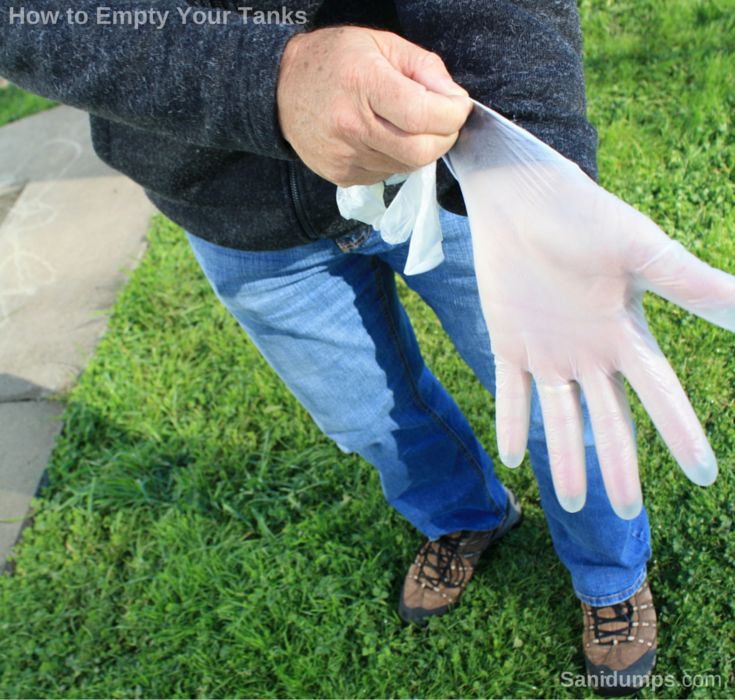
Put on latex or other disposable gloves (to avoid any contamination) and get the sewer hose out. Before removing the cap to the holding tank drain opening, ensure both the gray and black water valves are both closed.
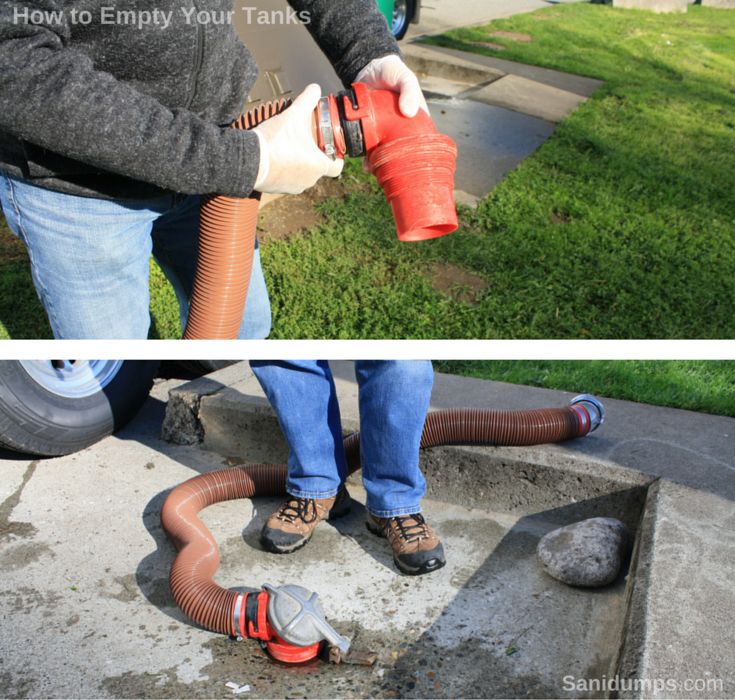
Attach the hose to the dump station hole first! It is a good idea to use an elbow and a hose ring to connect the sewer hose to dump station hole, as this will hold the hose in place and avoid any splatter. If the ring or the elbow is not available, insert the end of the sewer hose into the dump station's hole about eight to twelve inches (if you only insert the hose a few inches the hose may come out when dumping the tanks and that will cause a large mess). Use the hole's cover, a brick, or something heavy enough to hold the sewer hose in place, so it doesn't pop out of the hole (Do not use an object that is small enough that it could fall into the hole and plug the dump station).
Many websites mention Step 4 then Step 3; we do Step 3 first to prevent any accidental spillage.
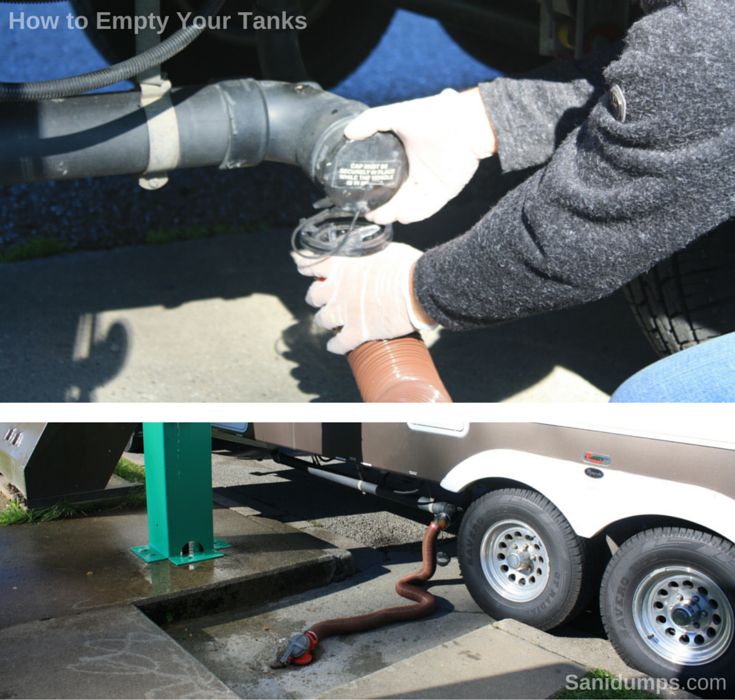
Check the sewer hose to ensure it is securely clamped to the adapter and prepare to attach to the holding tank drain outlet. Start by removing the cap with the sewer hose positioned underneath to catch any drips (open end up), when any drips have stopped, attach the sewer hose ensuring the adapter is completely secured. A partially attached hose is more common than one may think, so ensure the tabs on the adapter are lined up properly with the stubs on the tank drain.
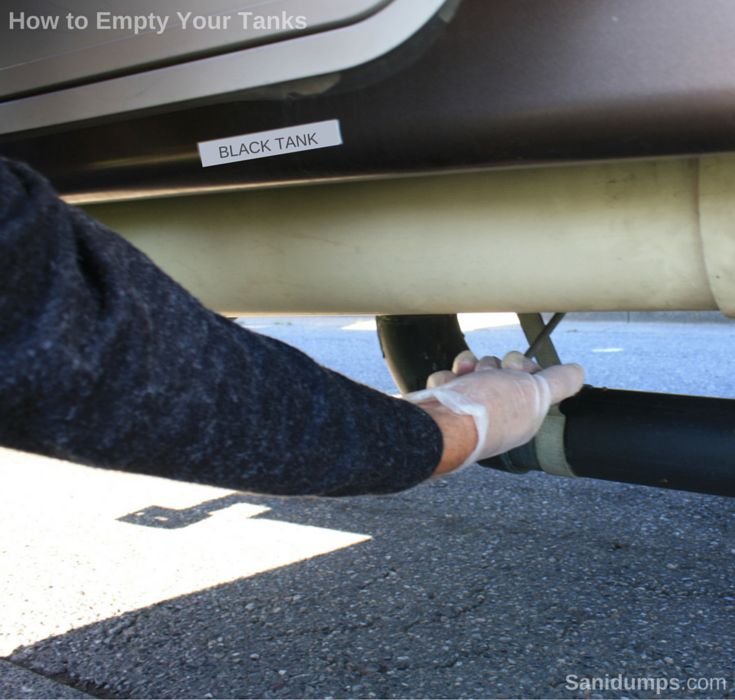
Once everything is secured, pull open the black water tank valve first. You will hear the effluent rush through the hose, start to slow down, and finally become a trickling sound.
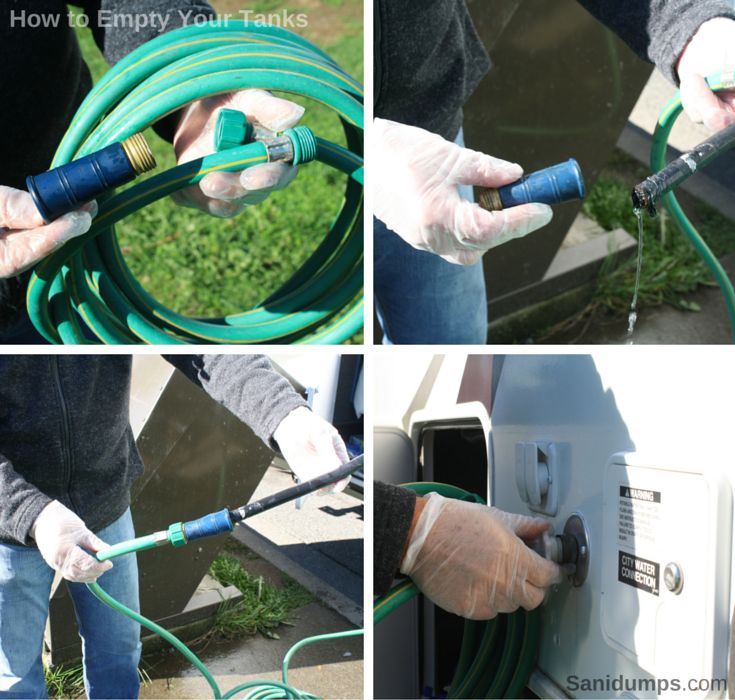
If the RV has a permanent-mount black tank rinse system, now is the time to connect it up to both the RV and the dump station water supply with a dedicated garden hose. Do not use a fresh water hose for the black tank rinse and do not turn on the water until step 5 has been completed. (A portable flushing wand may also be used for this step).
Some solids may be left at the bottom of the tank as well as on the tank sidewall, so now it's time for the black tank flush to help clean out the tank. If you connected a black tank rinse from step 6, turn on the water, let this run for two-five minutes to help remove solids left behind, then shut off the water and disconnect the garden hose. Now close the black water tank drain valve by pushing the handle completely closed.
If the RV does not have a black tank rinse system, you can fill the toilet bowl with water using the internal pump and water from your fresh tank. Ask your partner to flush the toilet to duplicate the action of black tank rinse system. This step may need to be done twice. Please be sensitive if there is a line-up at the dump station.
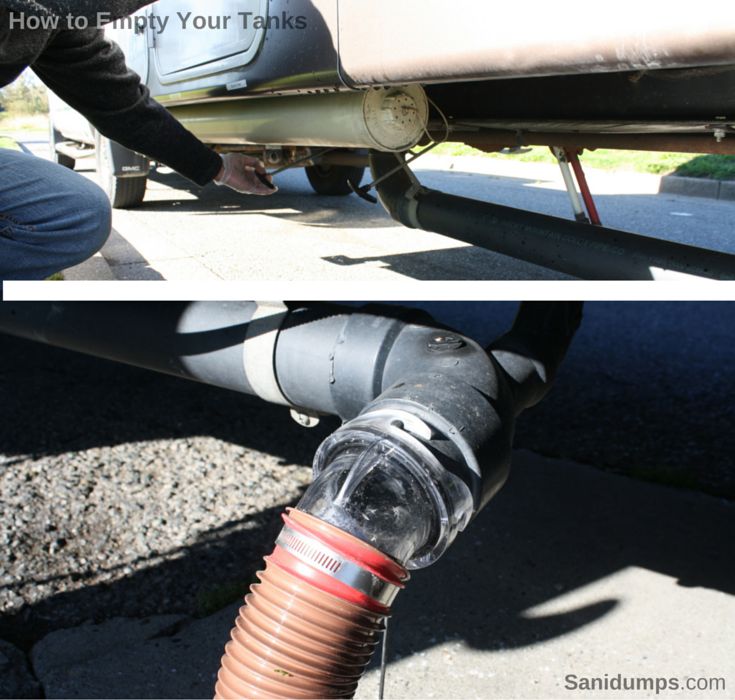
Now open the gray tank valve. As in step 5, you'll hear water flow, then slow, and stop. Close the gray tank valve. Repeat this step if you have more than one gray tank.
At this point, you're almost done. If you want to flush and rinse the tanks once more, you can do so by filling the tanks to 2/3 full of water (if you don't have a gray tank rinse system) and repeat the emptying process. If others are waiting to use the dump station, be courteous and skip this step.
Do not put non-potable rinse water into your fresh water system for this as it will contaminate your system, and it will require complete sanitation.
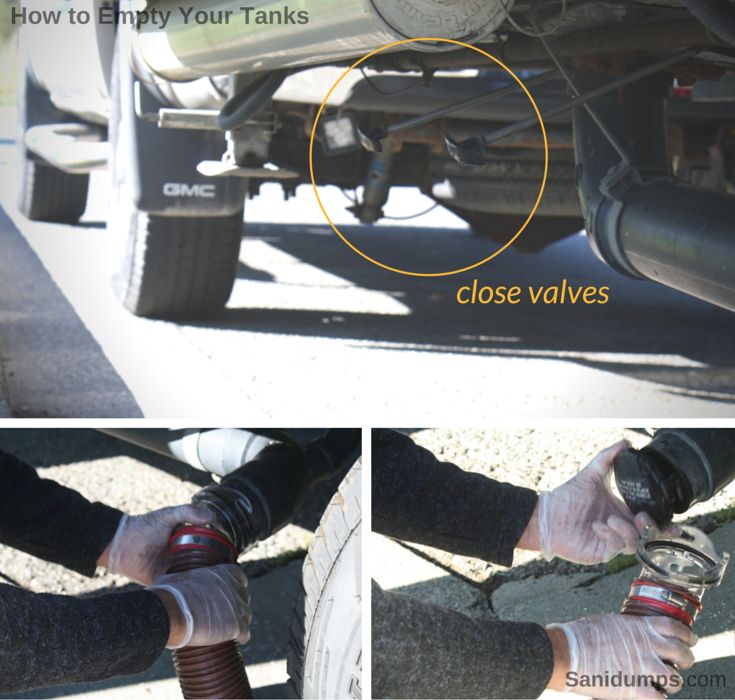
Recheck that both your black and gray water tank valves are closed and then disconnect the sewer hose from your tank outlet on the RV.
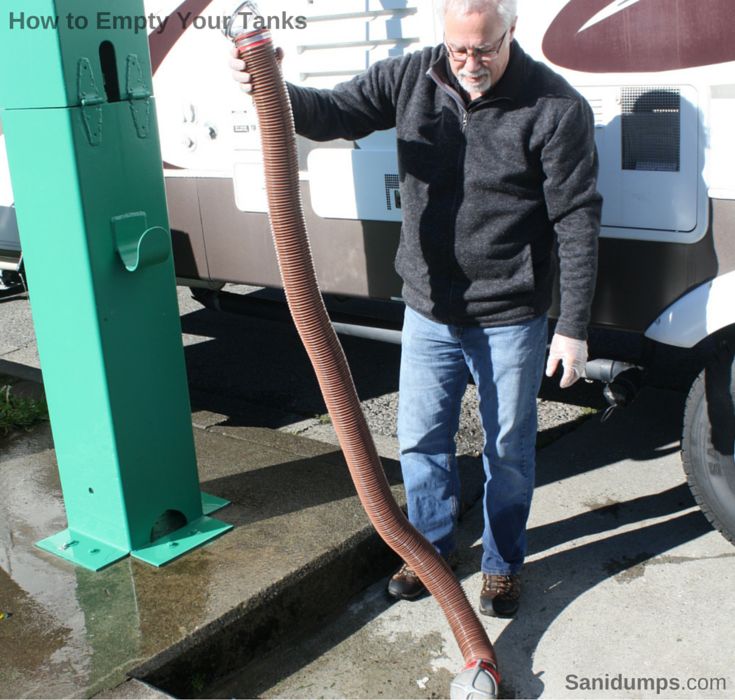
Lift the end of the sewer hose (the end just disconnected) to completely drain the hose into the dump station. If a non-potable water hose is available, run water through the sewer hose to rinse it out. Remove the sewer hose from the dump station hole and rinse the outside of the hose. Rinse the area around the hole to ensure that any spillage has been cleaned up and cover the dump station hole. Replace the RV drain cap.
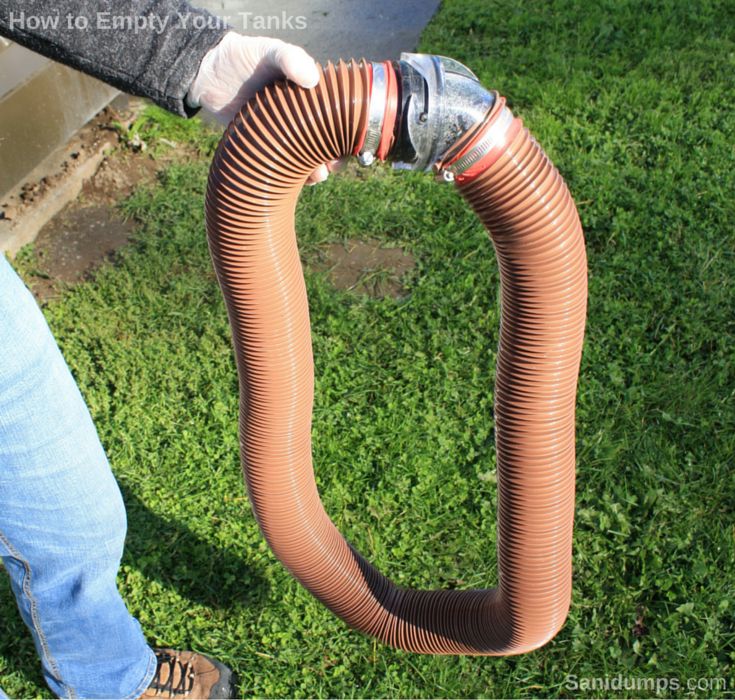
Return the sewer hose, etc. to storage. Connect the two ends to each other to seal the contents of the hose.
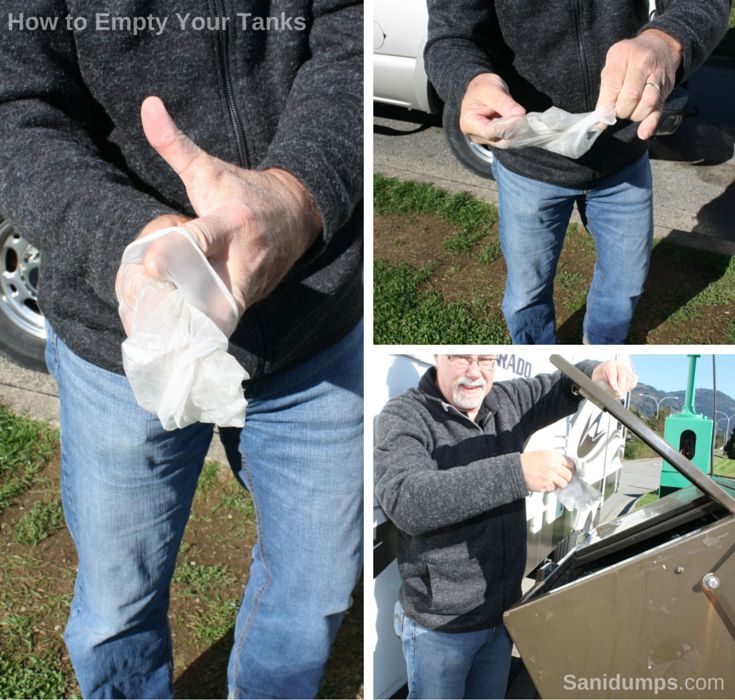
Dispose of the latex gloves into the garbage bin (we don't mean down the dump station) or put them in your garbage bin in the RV. Clean all the surfaces touched when wearing the gloves with bleach wipes. Wash or sanitize your hands just in case the gloves leaked.
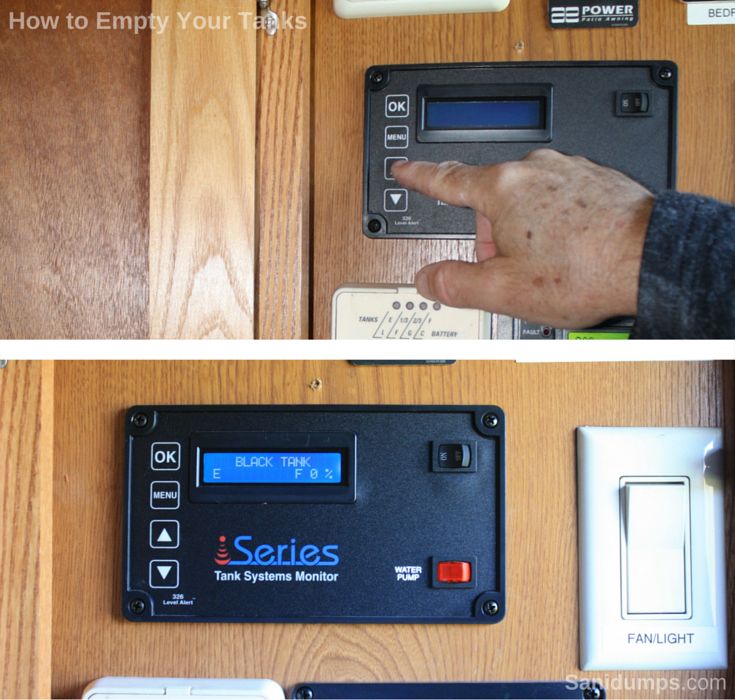
If there is a line-up, move the rig to allow the next user to use the dump station and then check holding tanks display panel. If they do not read empty, this is an early sign that the sensors may be getting gummed up. Check out our ice cube trick below for an inexpensive environmentally friendly tip for solving this problem.
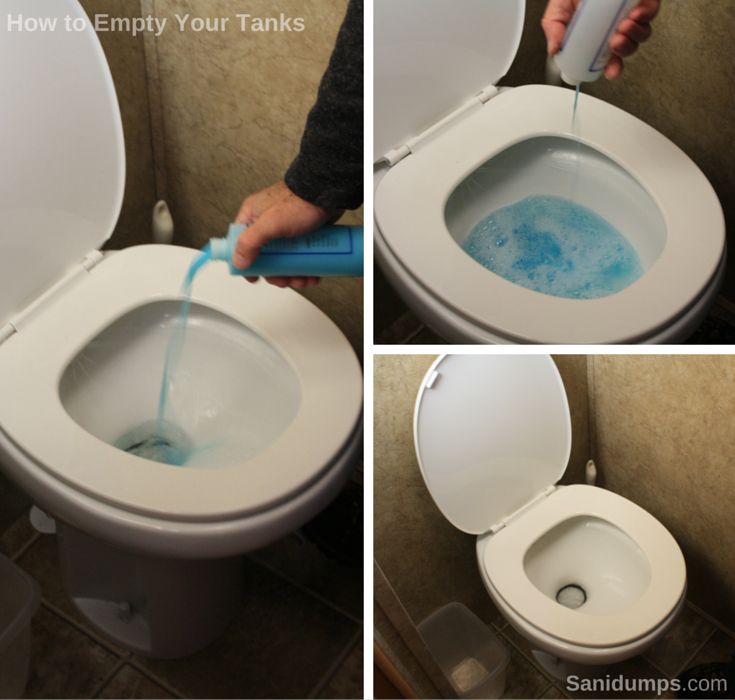
Now add about two to four gallons of water (about three to four full bowl flushes) to your black tank and then add the appropriate amount of holding tank treatment to the last bowl. If you use a treatment for your gray tank, do that as well. This will ensure that everything stays moist and healthy in the tank till your next trip. The goal here is to have about one inch of water in your black tank before you use it.
Record any notes or updated information about the RV dump station to be submitted to Sanidumps.com for other RVers.
The task of emptying your RV's holding tanks is now finished.
Submit the updated or validation information to Sanidumps.com when you have an internet connection.
Enjoy your RVing journeys.
If in Step 14 you notice that the display panel for the holding tanks is not reading empty, empty several (6-8) large bags of ice cubes down the toilet and into the holding tank. While driving with ice cubes in the tank, they will help clean your sensors and the ice will have melted by the time you arrive at the next dump station. When you arrive at the next dump station, fill the tanks with water before you dump the tanks, this will suspend the solids that have splashed on to the sidewalls of the tanks. You may have to repeat this process. This is a environmentally friendly method to clean your holding tanks.
Recreational vehicle dumping stations / sani stations / dump points seem to be disappearing and many times the cause of this is the expense of operating a dump station and the failure of the RVer to use a RV dump station in a responsible manner. Please be one of the responsible users and if you don't understand what to do at the RV dump station, get some help to learn the proper dumping methods. Recreational Vehicle (RV) Lifestyle Seminars or RV Life On Wheels Conferences are a great way to learn more and meet fellow RVers.
Remember that dump stations are being closed due to abuse! Report Abuse.
It's important that all RVers learn to do our part to make sure RV dump stations stay open and operational for the future of RVers everywhere. Five easy steps we can take:
Happy RVing!
Learn how to do a toilet paper test for a 'RV Friendly' brand of toilet paper.
Learn how to sanitize your RV Water System to insuring clean, safe drinking water in your recreation vehicle.
Do you need to know where to dump your holding tanks when your RV is on the road? Now you can know where the RV dump stations are while traveling with an e-book. More information about the RV Dump Station location e-book.
Happy RVing,
The Sanidumps.com Team
National Day Calendar
✔ Mark your calendar,
June 7 is
National RV Day,
Let's go RVing!
The type of recreational vehicle dump stations you will find on Sanidumps.com include: private, public, RV park, non-park, municipal, truck stop, rest stop, campground, camping, resort, commercial, pay, donation, waste disposal, and free.
It is important to dispose of human waste properly when RVing. The RV dump station, dump point, or sanidump station you choose to empty your gray and black water holding tanks is up to you; we're hoping that you will choose an approved dump station site that's green and environmentally friendly, using an environmentally sound method.
Do you need to know where to dump your holding tanks when your RV is on the road? Now you can know where the RV dump Stations are while traveling with a e-book. More information about the RV Dump Station location e-book.
Although efforts are made to make sure of the accuracy of the information presented, Sanidumps.com shall have neither liability nor responsibility to any person or entity with respect to any loss or damage caused, or alleged to be caused, directly or indirectly by the information contained here.
Sanidumps.com is not affiliated in any way with any place/location listed on this site. Fees are subject to change; availability and prices can and do change.
We thank all the RVers that have contributed information :-)
The Sanidumps.com Team
Serving the RV community for over 18 years
Sanidumps.com - When RVs have to go...™
© 2006 - 2024 Sanidumps.com - All rights reserved.
The content contained on this website may be used for personal reference only and may not be reproduced in any form without prior written consent permission from Sanidumps.com
Australia, Canada, Mexico, New Zealand, United States & more...